Friday, 20 May 2016

1920's Speakeasy Environment - Part 7

1920's Speakeasy Environment - Part 7

It's been a while since I've touched my 1920's speakeasy project because I've been pretty busy with my new job, but I've finally picked it back up this week! I've started on creating another essential prop for the theme, a stereotypical gangster trilby.

I've created the model, UV mapped it and started on the texture. I have done about 5 hours work in total. It's not much, but it does feel good to be back working on this project!


Over the next few days I will aim to finish this model up and get started on some other assets for the scene.

Meanwhile, my QA job at Traveller's Tales continues to be a very valuable experience and I'm learning more with every week that goes by. I have accepted an offer to have my contract extended until the end of August, turning what would have been a 6 week job into almost 5 months!
 

Saturday, 30 April 2016

I have a job in the games industry! - QA Testing at Tt Fusion

I am excited to announce that this month, I started my first ever job in the games industry!

I am working at Tt Fusion in Wilmslow as a QA tester until the end of May. My first day was on Monday 18th April and was a day that was 22 years in the making - I've dreamed of working in games for as long as I can remember so getting my first job in the industry was amazing and my first day was a huge deal for me.

I've now been there for two weeks and its great, I've already learned so much. I've been giving it 110% and I have been soaking up as much knowledge as possible - it's proving to be a very valuable experience for me. I feel very lucky to be employed by such a successful and inventive games company and I am determined to make the most of the experience! I'm only just making this blog post now because I've been very busy and have totally immersed myself in my new job and have also moved to Wilmslow for the duration of my employment.

QA testing has always been something that I have been interested in doing and I think that I have taken well to it. The nature of the work allows me to put my Games Design degree, game design knowledge and love of gaming to good use while also learning a great deal about QA, development and design, and of course, interacting with like-minded games industry professionals and gaining a valuable insight into how things work in a games studio.


Tuesday, 15 March 2016

1920's Speakeasy Environment - Part 6

1920's Speakeasy Environment - Part 6

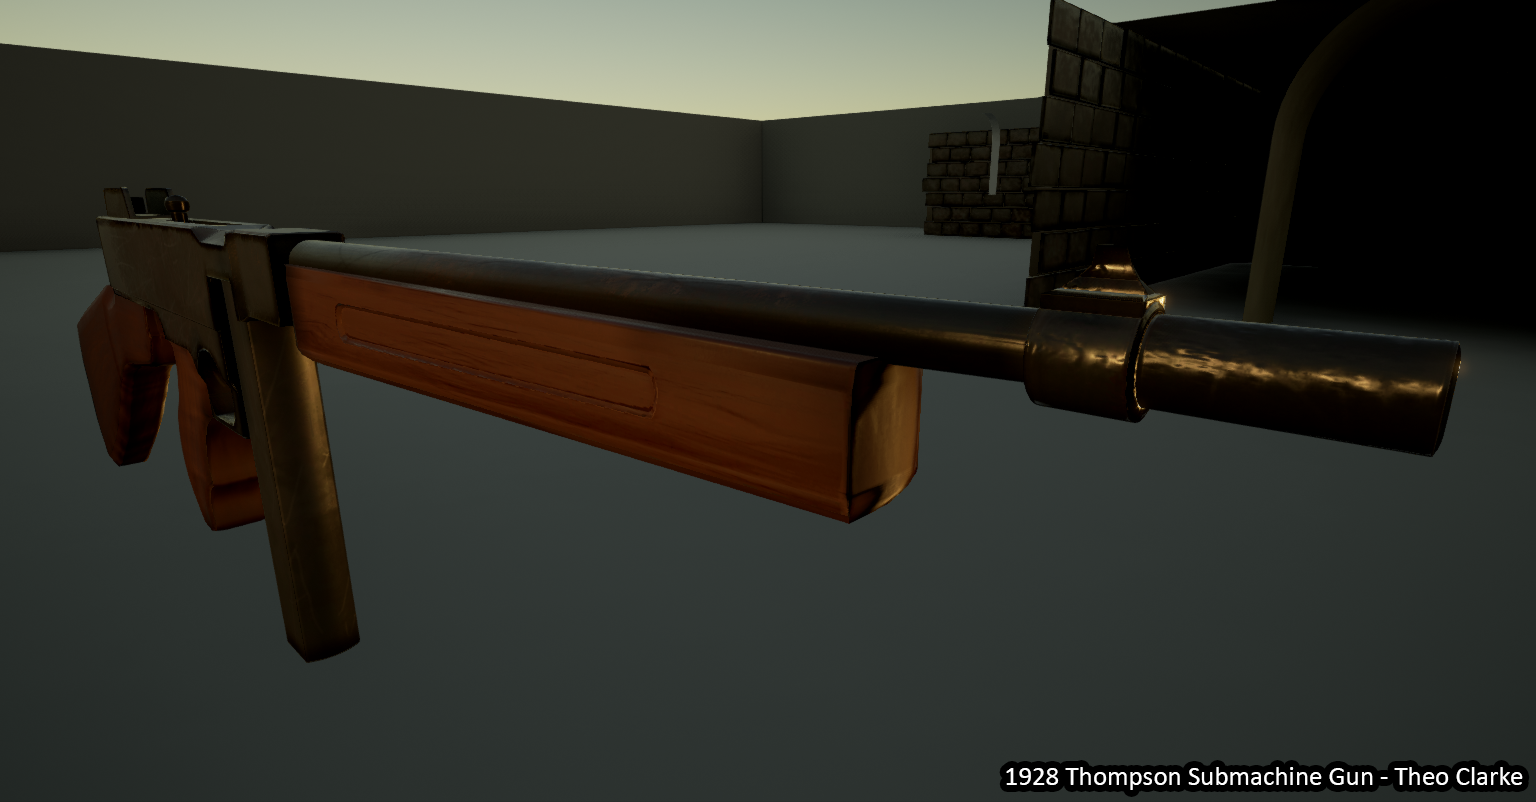
Another speakeasy update coming your way! Today I finished the Tommy Gun 3D model and its now fully PBR textured with diffuse, normal, roughness and metallic maps. I'm quite happy with how its turned out and I'm calling it finished for now, but I might tweak a few things further down the line.

Some info on the tommy gun: I originally planned on modelling it with the typical drum magazine as seen in many classic gangster films, but I wasn't happy with it so I decided to make a box magazine and was instantly happier with it so I stook with it. It's based on a 1928 Navy model which DID have the box magazines and top-mounted bolt and ejector port so it's still fairly accurate and viable for it to exist within the scene. I included some writing on the side that is based on real features of the 1928 model Thompson. I also made it so the serial number had been scratched off - implying this particular weapon was stolen from its original owner.

This was one of the most important models of the scene so it feels good to have it done. It is the 3rd gun I have fully modelled and textured. Here's some pictures:


My next step is to continue with the architectural pieces.... like I was doing before I got carried away with doing the tommy gun!

Saturday, 12 March 2016

1920's Speakeasy Environment - Part 5

1920's Speakeasy Environment - Part 5

Part 5 of my project and I've decided to take a break from architectural modelling in order to get a head start on one of the most essential props of the scene: a Thompson submachine gun a.k.a the Tommy Gun.

I've been working on it for about 10 hours over two days and I'm very happy with how its going. I've finished the model and UV mapped it. The poly count is just under 4000, which is a little high, but I don't want to restrict myself with strict polycounts on this project.  

Here's some pics of the model!


Thursday, 10 March 2016

1920's Speakeasy Environment - Part 4

1920's Speakeasy Environment - Part 4

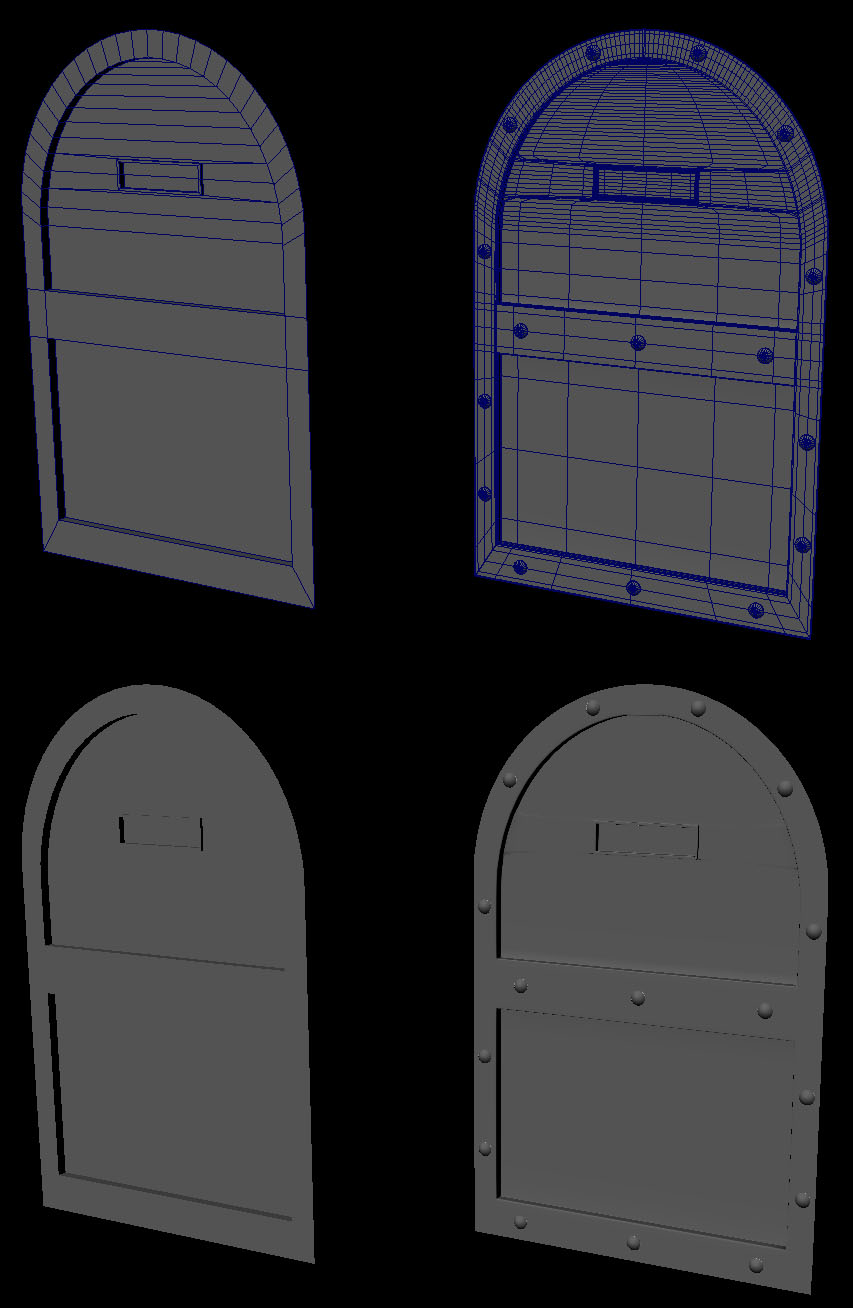
I've made some more progress on my speakeasy environment. It's slow but steady at the moment; I've just been modelling architectural pieces and making a few prototype textures. I've recently finished up a door (that I've also textured), and the arches.

Here's a few pictures of how the scene is looking:


Monday, 7 March 2016

1920's Speakeasy Environment - Dev Diary Part 3

1920's Speakeasy Environment - Dev Diary Part 3

Day Three of my latest environment art project and things are continuing to go well. Having blocked-out and planned the scene on day 1 and day 2, today I started the real work of making the architecture of the room itself - specifically, the walls.

I spent about 8 hours modelling a big, chunky, modular brick wall and baking a normal map in Maya, and I also started to texture the wall too. By the end of the day I've finished the model and got a (placeholder) diffuse, normal, specular and roughness map applied to the model in UE4. It's not finished yet but its a good start!

Here's some pictures:


Next step: finish off the wall and start work on the arches, floor and other architecture.

Sunday, 6 March 2016

1920s Speakeasy Environment - Dev Diary Part 2

1920's Speakeasy Environment - Dev Diary Part 2

It's day two of my new 3D environment project and I've started 3D modelling the basic architecture of the scene in Maya. I made a basic blockout and imported it into UE4 so I could explore it in 3D and make sure I was happy with the scale and layout of the scene before moving on.
Here's some pictures of the work I've done today:


I'm happy with the layout and scale of the scene. My next step is to keep working on the architectural assets that make up the room.